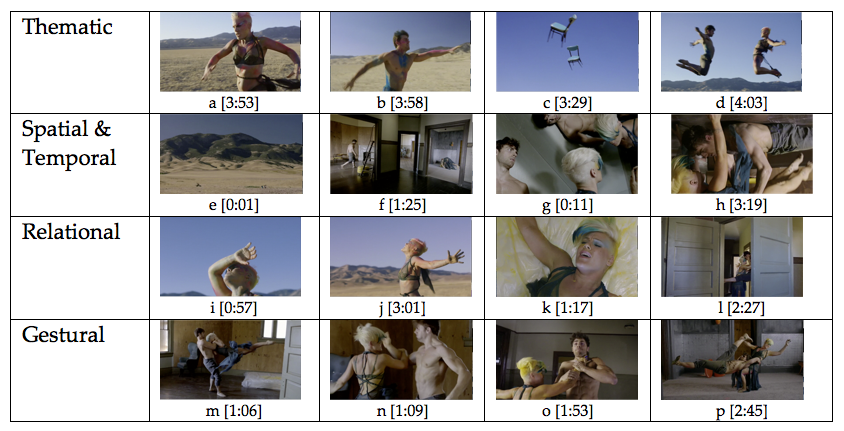
Figure 7.
Video Stills from “Try”